
What a Voidling Bound boss guide should answer
The useful answer is a preparation loop, not one permanent tier-list name. Start by identifying the fight problem: long damage windows, unavoidable area pressure, adds, movement checks, or a mistake that keeps ending the run. Then choose a Voidling whose abilities, element, attributes, evolution branch, and nature make that problem easier to manage. This is the boundary of this Voidling Bound boss guide: it turns official combat facts and your own observations into a repeatable plan.
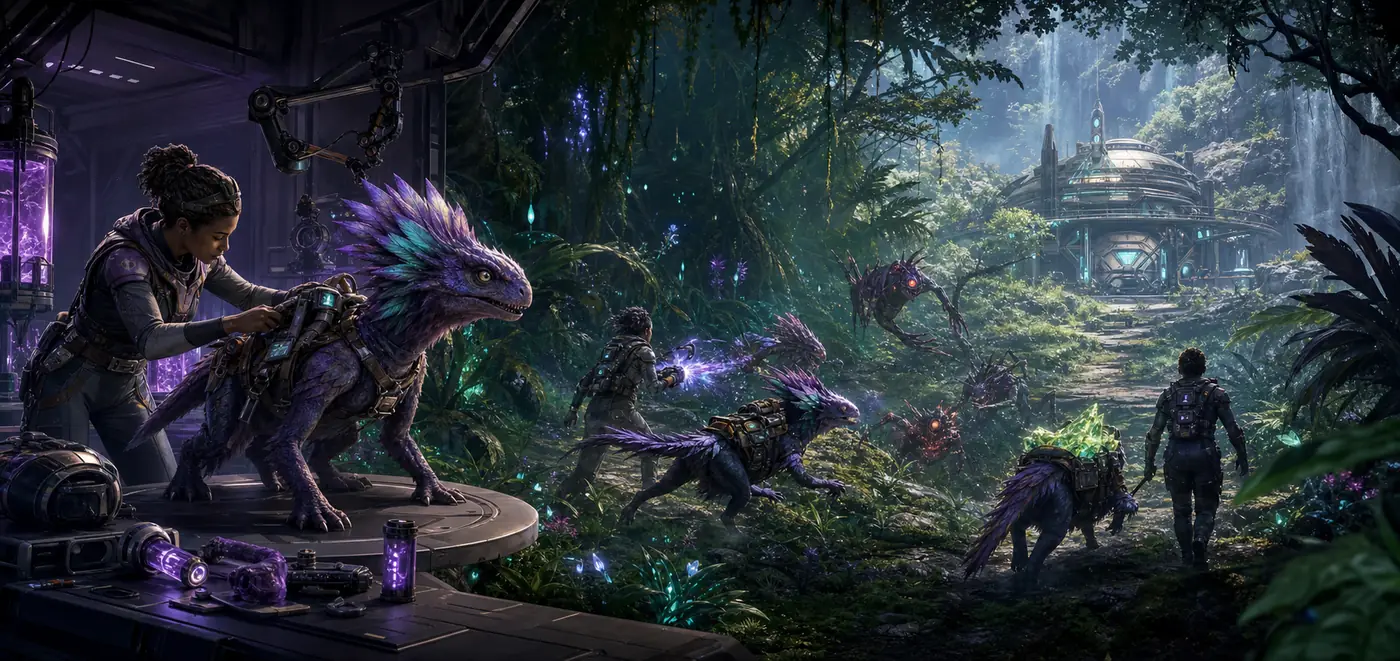
The official Steam description confirms the important combat verbs. You directly control Voidlings, shoot, slash, slam, use ultimates, and can evade, block, or parry incoming attacks while moving through planets and biomes. It also describes pestilent bosses and an Abyss that becomes more dangerous as you go deeper. Those facts support practical advice about movement, defensive timing, resource management, and retreat decisions. They do not prove every community list of boss names, phases, weak points, or reward values.
Use the guide when a normal mission stops being a simple damage check. Read the preparation table before entering, write down the first mechanic that defeated you, and change one variable at a time. That method keeps a boss strategy useful after a balance update and prevents a borrowed video, an old demo build, or a guessed number from becoming a false rule.
Build the right Voidling before the arena
A boss-ready Voidling begins with a job description. Pick one sentence such as “survive a long pattern while keeping ranged pressure” or “stay mobile while clearing adds.” The sentence is more useful than a vague goal like maximum damage because it tells you which trade-offs to test. The Types guide can help name an element and attribute direction, the Best Voidling guide can compare role candidates, and the Breeding guide can help you decide whether a parent is worth preserving.
Check the ability bar before spending resources. A defensive ability that gives a short reposition, a block, a counter, or an invulnerability window may be more valuable than another attack when the boss punishes greed. Confirm how the ability feels in a safe mission: range, recovery, cooldown, and whether it interrupts your movement. Keep one reliable damage option, one escape or protection option, and one tool for the mechanic you expect to repeat.
Attributes should support the job instead of spreading points evenly. Steam names Vitality, Power, Speed, Essence, and Agility as the build language. A boss plan might need Vitality to survive a mistake, Power to finish a stagger window, Speed or Agility to leave a telegraph, and Essence to keep abilities available. There is no universal spread in this guide because the correct balance depends on your control skill, the encounter space, and the current patch.
Before you enter, write a small loadout note. Include the Voidling name, evolution branch, element, two main attributes, the defensive button you will rely on, and the resource you must not spend before the next phase. If a breeding or Catalyzer change is still unverified, mark it as an experiment. This makes a failure informative instead of turning it into a random rebuild.

| Preparation question | What to record | Why it matters |
|---|---|---|
| What ends the attempt? | Damage spike, add wave, movement check, or resource drain | Names the real problem before you chase damage. |
| Which defensive action is reliable? | Dodge, block, parry, dash, or reposition | A plan you can repeat is stronger than a perfect theory. |
| What is the build's job? | Burst, uptime, control, sustain, or mobility | Keeps attributes and evolution choices coherent. |
| What must be saved? | Ultimate, stamina, healing, or a cooldown | Prevents an early success from causing a later wipe. |
| What is unverified? | Weakness, phase count, drop, or exact number | Stops old community notes becoming false certainty. |
Read telegraphs, movement, and damage windows
A boss strategy starts with observation. On the first attempt, use the arena to learn which animation, sound, projectile pattern, or ground effect precedes damage. Do not spend every cooldown while learning. The aim is to identify a safe position, an escape direction, and the moment when the boss is committed to an attack. Once the pattern is recognizable, your damage window becomes a decision rather than a guess.
The Steam page explicitly lists evasion, blocking, and parrying alongside sprinting, jumping, and dashing. That gives you several defensive languages. A dodge may solve a narrow hitbox, a block may protect a frontal line, a parry may reward a readable strike, and a dash may move you through a hazard. Test the one your Voidling actually supports, then keep the input simple enough to use while aiming or controlling the camera.
Watch what happens after a defensive action. Some encounters leave a short recovery window, while others immediately summon adds or change the arena. The safest damage is the amount you can deal and still have a response available. If a community guide gives an exact invulnerability fraction or fixed phase timer, treat it as a lead to test, not as a fact for every patch.
Telegraph
Name the animation, sound, projectile, or floor effect that tells you to move.
Safe space
Choose a direction and landmark before the attack starts so the camera does not decide for you.
Damage window
Use a short, repeatable burst after the boss commits, then return to a defensive position.
Recovery
Track the next mechanic instead of spending every ultimate during the first opening.
A repeatable fight plan for story bosses
A good fight plan is short enough to remember while moving. Start with a safe opening: check the arena, confirm the boss is targeting you, and place yourself where an add wave or ground effect will not trap you. Use the first cycle to verify the telegraph. If you already know the pattern, use the opening to apply a controlled amount of damage while keeping the defensive button and one resource ready.
When a phase changes, stop and re-centre. New enemies, a different camera angle, a shield, or a forced movement sequence can make the old position unsafe. Call the change in your notes as a phase marker even when the game does not label it. This makes later attempts comparable. If the encounter has adds, decide whether they are a mechanic that must be cleared, a distraction that can be controlled, or a source of pressure that changes your route.
After the attempt, record the first unrecoverable mistake rather than the final hit. “I used the ultimate too early,” “I dodged toward the wall,” and “I entered the second cycle without stamina” lead to different repairs. Change one thing: a defensive ability, an attribute point group, a position, or a timing rule. Run the same plan again before judging whether the build is weak.
- 1. ScoutEnter with a safe build and watch one full attack cycle before spending every resource.
- 2. MarkWrite down the first telegraph, the safe direction, and what the arena does when the cycle ends.
- 3. CommitUse one controlled damage window while keeping a defensive action ready for the next signal.
- 4. ResetAfter a phase change or add wave, restore spacing and reassess the next mechanic.
- 5. ReviewChange one variable after a wipe, then repeat the same plan to test the repair.
Boss builds versus Abyss pressure
A story boss and an Abyss run can use the same combat skills but ask different questions. A single boss may reward learning one pattern and saving a burst for a known window. The official Steam description presents the Abyss as an escalating challenge where you can go deeper for greater rewards or retreat to safety. That makes consistency, recovery, and resource economy more important than a one-time damage screenshot.
Treat Catalyzers as a separate endgame layer. The Catalyzers guide covers rarity, duplicates, Leon's shop, Corrupted trade-offs, and farming priorities. This Boss guide only asks whether the extra stats solve the failure you observed. If a Catalyzer increases a number but does not help you leave a telegraph, survive the next pattern, or keep ability uptime, it may be the wrong first repair.
Use a stable set and a push set. The stable set is the highest Abyss level you can finish repeatedly without relying on a lucky pattern. The push set trades some safety for a deeper attempt after you understand the route. Retreating is part of the official loop, not a failure of the build. Record the depth, the first pressure point, and the resource you ran out of so the next upgrade has a clear job.
| Situation | Priority | Link next |
|---|---|---|
| Learning a new story boss | Telegraphs, spacing, and one reliable defense | Gameplay and Types guides |
| Repeating a clear | Uptime, recovery, and a simple resource rule | Best Voidling and Breeding guides |
| Starting Abyss depth | Consistency, retreat point, and upgrade cost | Difficulty and Max Level guides |
| Pushing deeper | Catalyzers that repair the recorded failure | Catalyzers guide and current patch notes |
Mistakes, patch checks, and source limits
Do not copy a fixed boss list from a page that does not show its source or date. The game is young, public guides mix launch, demo, and post-release information, and search results can repeat an invented name across several sites. This page intentionally uses “boss” as a combat role and keeps exact roster data out until it can be checked in-game or against a first-party update.
Do not confuse the opening difficulty with Abyss progression. The Difficulty guide explains that they are different layers, while Max Level and Catalyzers cover later scaling. Linking those pages is more accurate than adding a fifth difficulty label to this article. Likewise, the Best Voidling and Types guides can compare candidates without turning this page into a permanent ranking.
Before publishing a patch-sensitive claim, record the source URL, the date, the build or update label, and whether the fact was observed in-game. Recheck a weakness, phase count, reward, level requirement, or ability value after a patch. If the evidence is only a community comment or an old video, label it as an experiment and keep the practical lesson at the level of timing, positioning, or role selection.
Old demo risk
A demo or pre-release build may have different bosses, balance, abilities, or bugs than the current Steam version.
False precision
Exact seconds, odds, and weakness charts need a checked source; do not turn a guess into a table.
Universal tier lists
A Voidling that solves one arena can be awkward in another. Keep the role and encounter visible.
Sources and evidence boundaries
The guide uses first-party feature wording for stable facts and keeps community material as a lead for testing. External links open in a new tab; exact boss values remain unclaimed when the public evidence is incomplete.
- Voidling Bound on SteamOfficial description for direct control, combat verbs, bosses, planets, evolution, and Abyss escalation.
- Voidling Bound official websiteDeveloper identity and high-level feature context; the fetched landing page exposes limited text.
- Voidling Bound community wikiCommunity reference for mechanics that still need an in-game or patch-specific check.